ServiceDesk Plus (On-premises) supports Office365 and G Suite mail servers. It enables ServiceDesk Plus to fetch mails from your mailbox. OAuth is a modern authentication protocol that can secure your login credentials. Therefore, OAuth generates access tokens to authorize ServiceDesk Plus to access these mail servers. OAuth configuration is available for Office365 and G Suite from ServiceDesk Plus build (11106). Further, you can authenticate the Office365 mailbox using OAuth with EWS and IMAP/SMTP from the 11106 and 13005 builds respectively.
Recently, Microsoft deprecated support for basic authentication and urged organizations to use OAuth configuration. Due to this, customers are required to reconfigure their mail server settings with OAuth configuration. Learn to set up Office365 using OAuth here. Also, explore the steps to configure G Suite using OAuth here. Further, check the default configuration of Office365 and G Suite here. Get your queries on OAuth answered by reading the OAuth FAQ page.
Here's how you can troubleshoot known errors and issues while configuring OAuth for their mail server settings.
Checklist:
Keep a tab on the following before you start troubleshooting issues and known errors while configuring OAuth for your mail server settings.
- Follow the steps mentioned in the respective help documents given above.
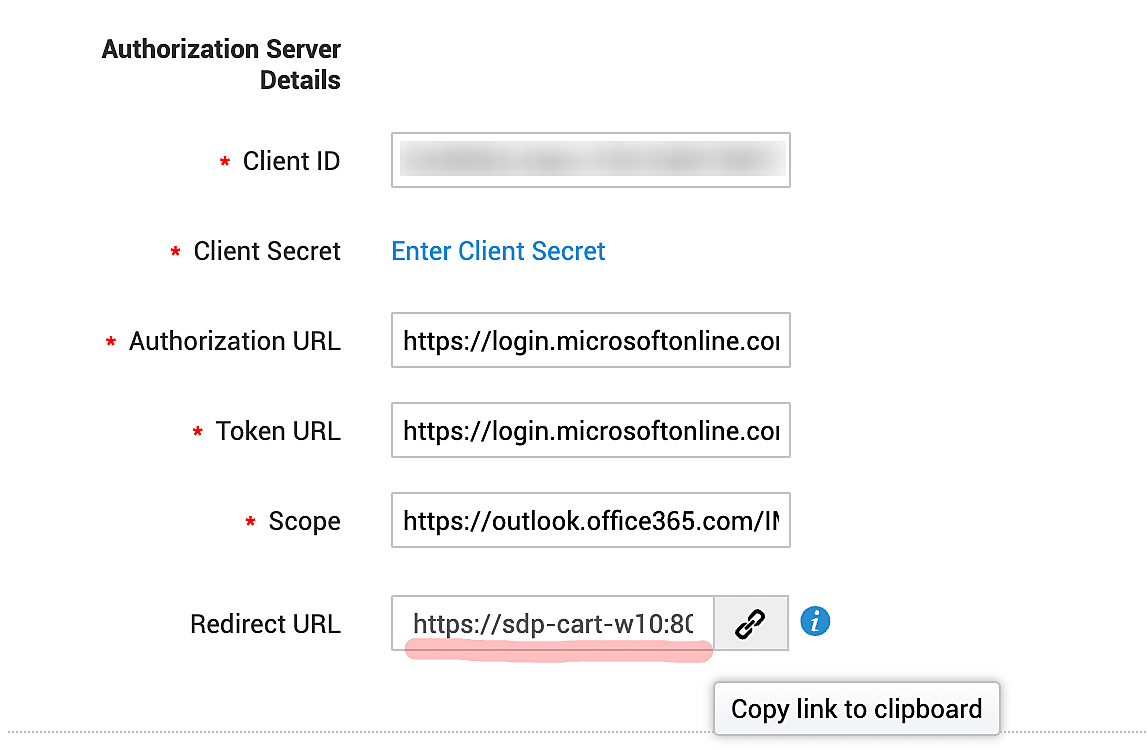
- Ensure that the hostname given in the Redirect URL is the same as in the URL used to access the application.
- If a proxy from the application server is required to connect to the internet, configure it in the application and enable it in the mail server settings.
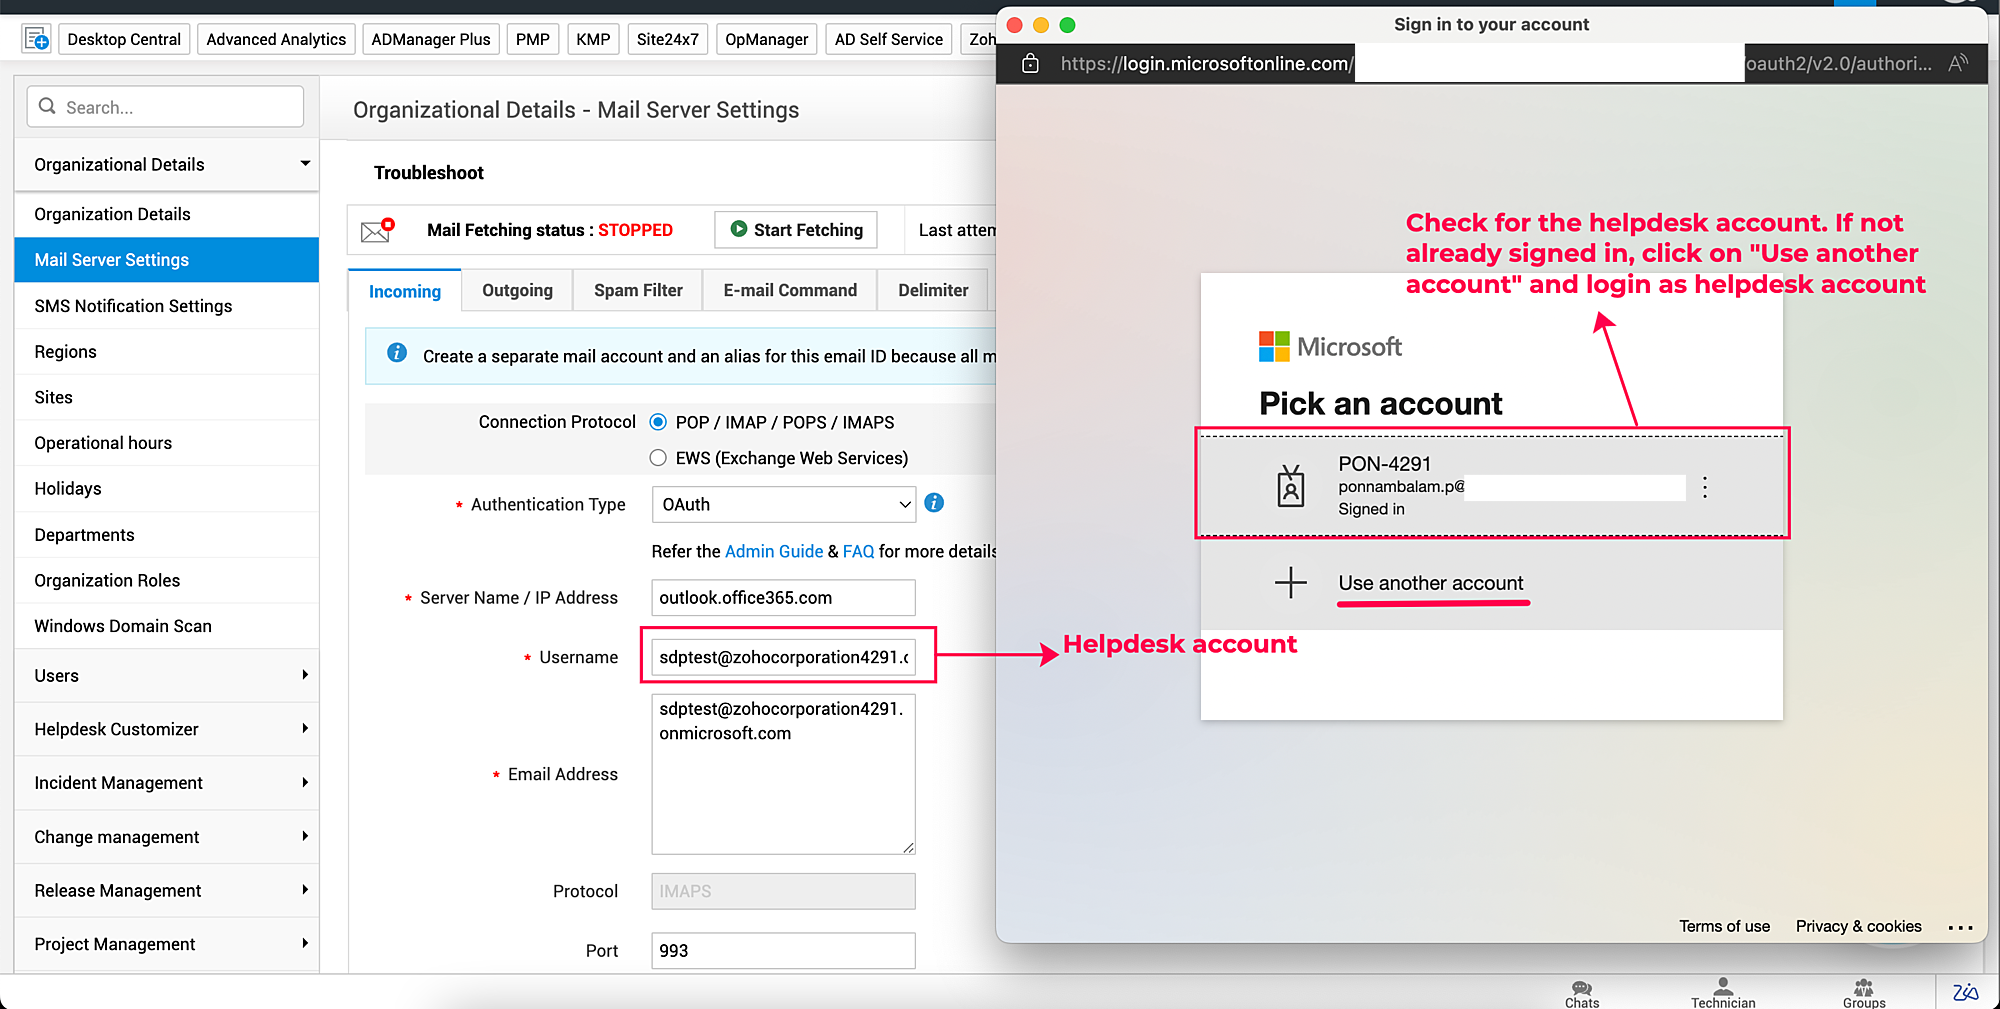
- When you save the mail server settings with OAuth, a dialog box will be displayed. Enter the credentials of the mailbox which is configured in the application/choose the mailbox's login instead of choosing your personal account. If your personal account is chosen, the application will start fetching mails from your personal account.
- ServiceDesk Plus should run as an https service. To install the SSL certificate, click here.
- Count the number of emails pending in your mailbox before the application starts to fetch emails.
Problems:
- Client Secret field is misconfigured
- OAuth dialog box displays a security error message
- User is directed to the application's login page after entering credentials
- The "need admin approval" is displayed after entering credentials
- The connection is timed out
- The response from the Token URL is in HTML format
- Invalid client ID is displayed
- The URL configured using basic authentication is incorrect
- The number of pending emails is incorrect
- One of the mandatory values for the mail server details is set as NULL
Client secret field is misconfigured
Issue:
After the user enters the mailbox credentials in the OAuth dialog box, an alert message is displayed as shown below.

Root cause:
The Client Secret field might have been configured from a different application. Also, users might have configured the Secret ID value in the Client Secret field.

Resolution:
The text under the Value column should be used to configure the Client secret field. But, it can be viewed only once, then it will be masked. Therefore, if this value is not stored anywhere, you can create a new client secret and configure it in the application.

OAuth dialog box displays a security error message
Issue:
A vulnerability message is displayed after a user enters the mailbox credentials in the OAuth dialog box.
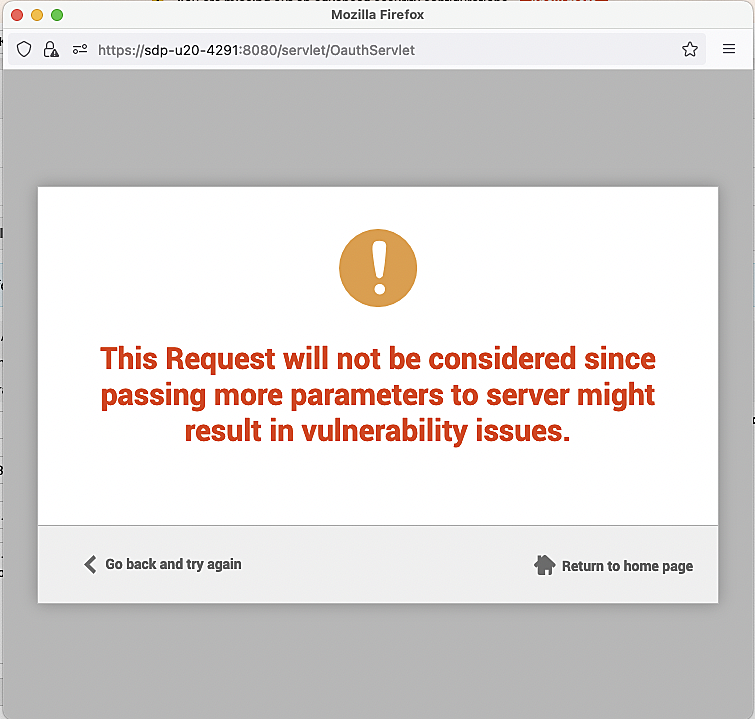
Root cause:
When OAuth is configured incorrectly, extra parameters like "error" and "error_description" are passed from the Auth server.
Resolution:
Check the value of the scope field under the OAuth configuration and verify it with the default configuration. If the issue persists, you can recreate it and share the logs with the support team at support@servicedeskplus.com.
User is directed to the application's login page after entering the credentials
Issue:
The OAuth dialog box does not close after the user enters the credentials. Instead, the application's login page is displayed.
Root cause:
- The URL that is used to access the application does not have the same hostname as the Redirect URL given on the mail server settings page.
- The application cookies may have "SameSite" attributes in some environments.
- When you search for "UNAUTHORIZED_CORS_REQUEST" in the serverout0.txt file for the "OauthServlet" URL, the following error messages are displayed in the application
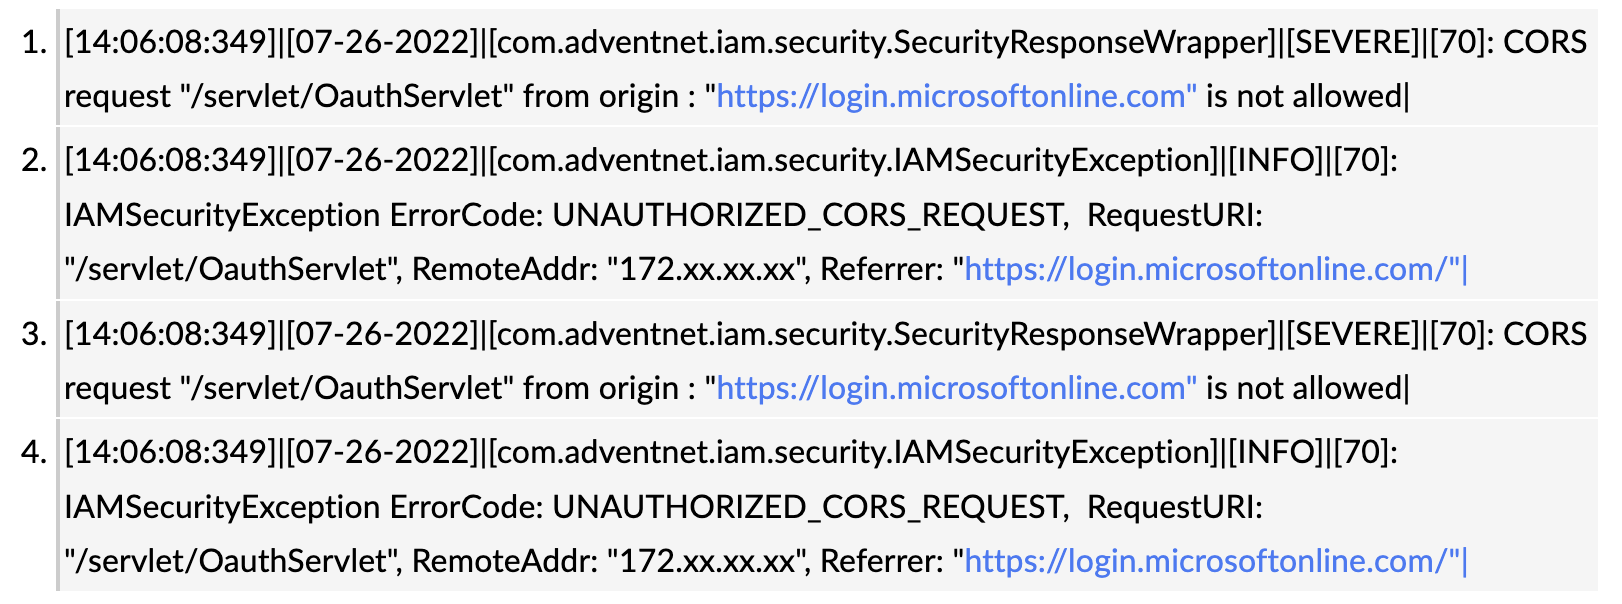
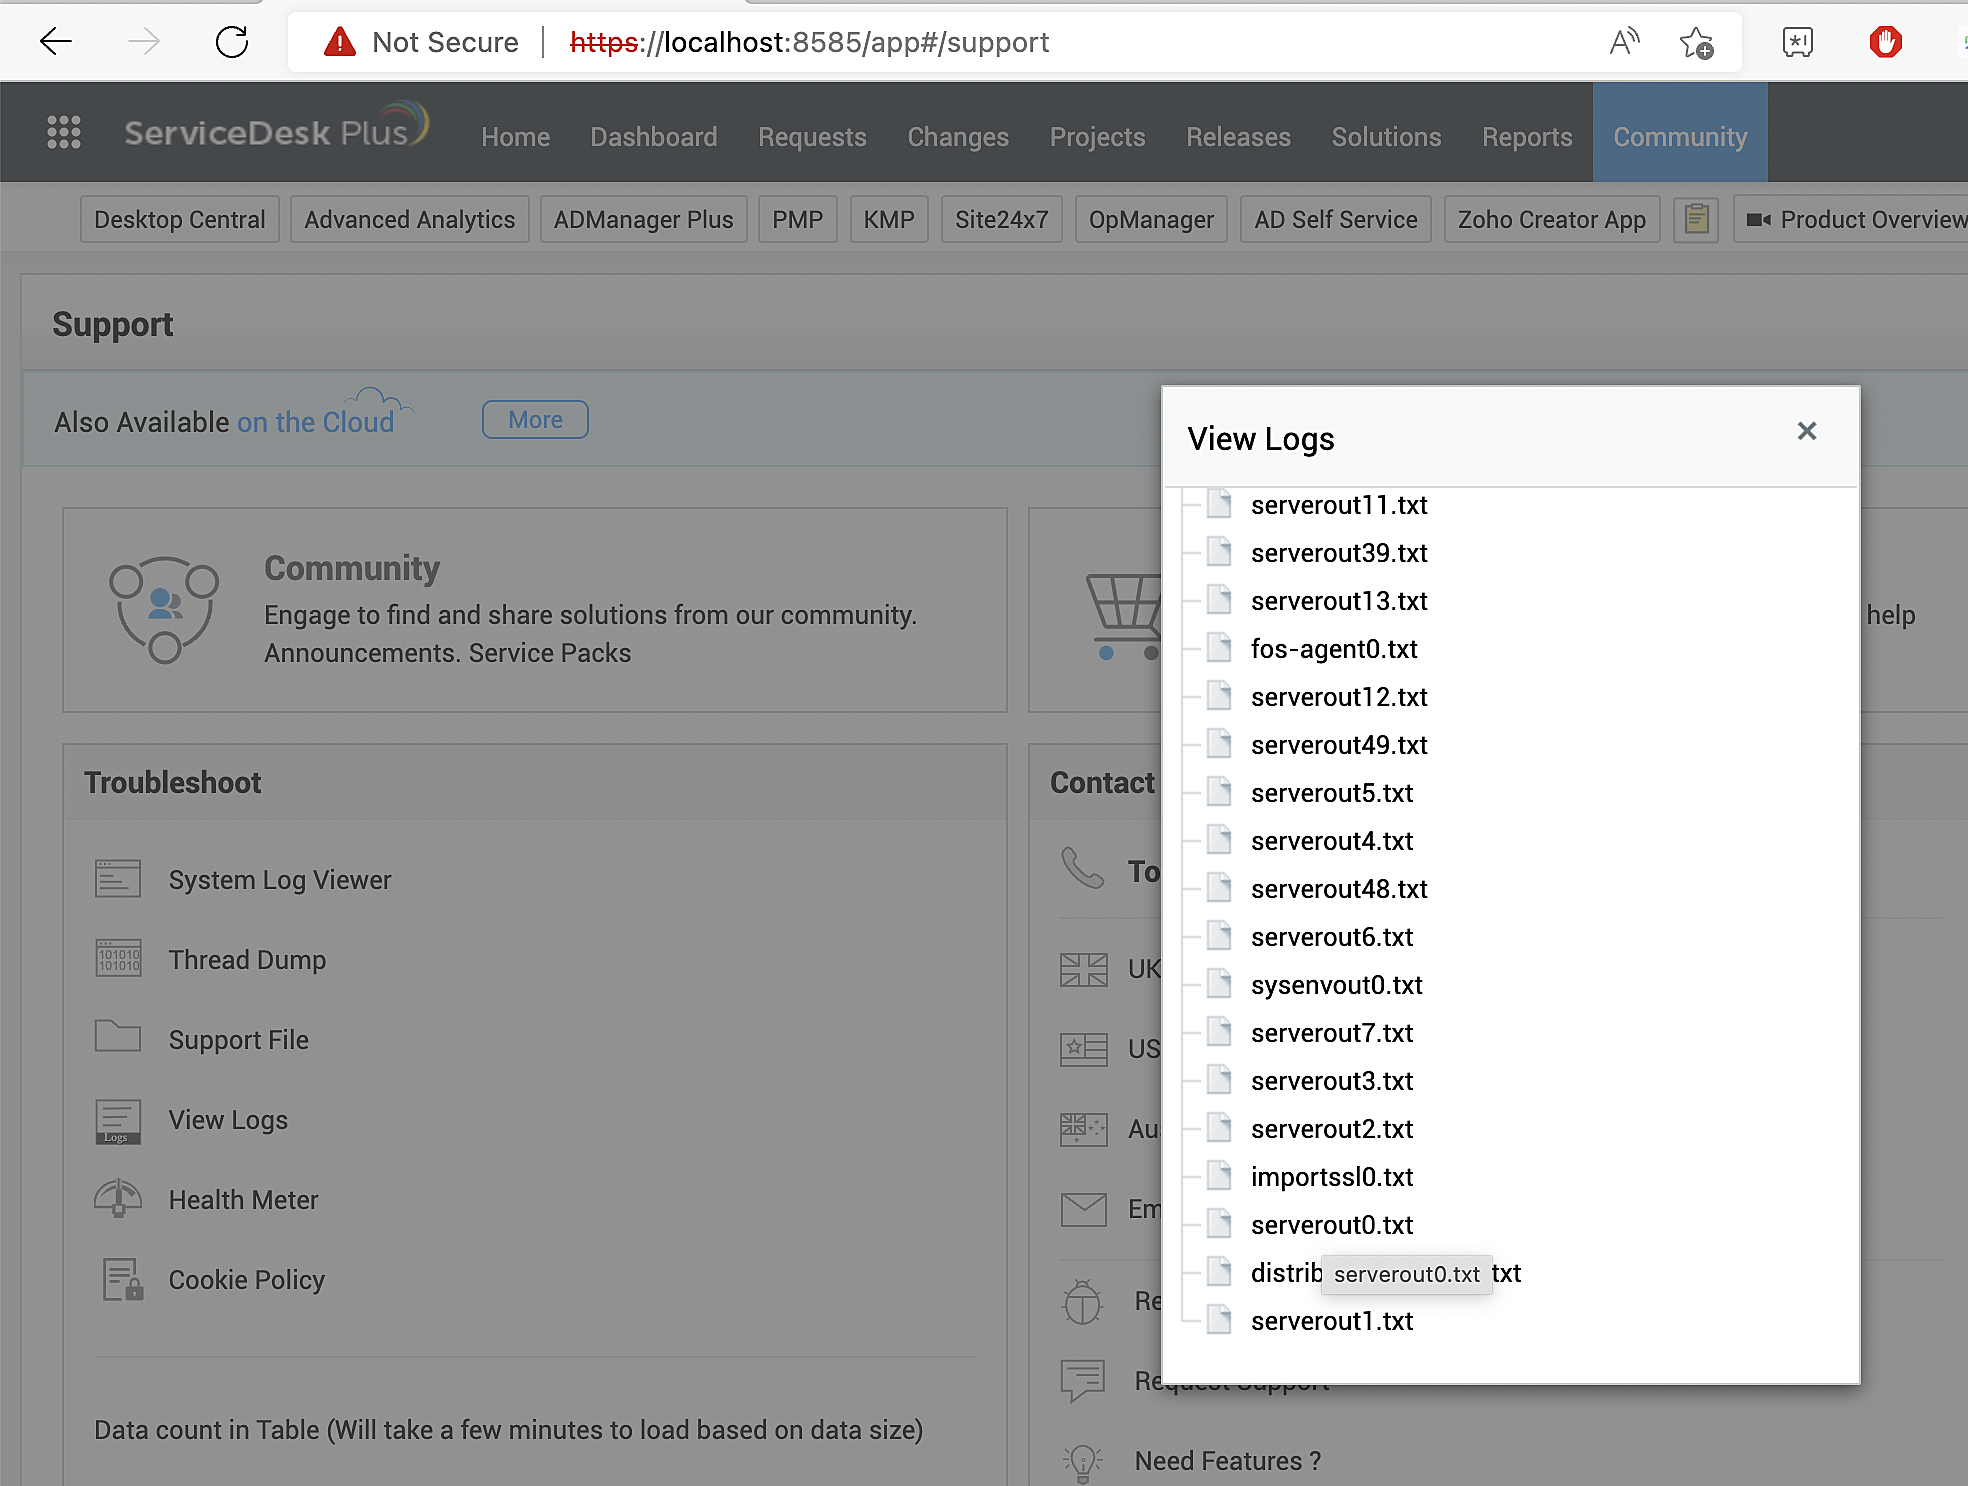
To access the application log file (logs\serverout(x).txt file) in the UI, login as SDAdmin and navigate to
Community > View Logs > serverout0.txt as shown below.
Resolution:
- You can access the application using the same URL as given in the Redirect URL field.
- You can execute the SQL query shown below by accessing New query report from the Reports tab by clicking on Run report.

Check if the value under the parameter column is none as shown below. It is case-insensitive.

If not, you can execute the pdate query given below and restart the application.

After executing the update query, clear the cookies of the application in the browser. Log into the application and save the settings. If the issue continues, you can recreate it and share the logs and the results of the select SQL query with the support team at support@servicedeskplus.com. Also, you can refer here to troubleshoot similar issues from logs.
- To resolve the issue using the details of the application log files, log in as SDAdmin and navigate to Security Settings > Advanced. Check whether the Referrer-Policy security response header is configured as strict-origin-when-cross-origin. If so, remove the security response header (or) add the URL https://login.microsoftonline.com as the value for the security response header allow-control-origin If the Referrer-Policy header is not configured, contact support@servicedeskplus.com with the logs and a screenshot of the Advanced Security Settings.
The "need admin approval" message is displayed after entering the credentials
Issue:
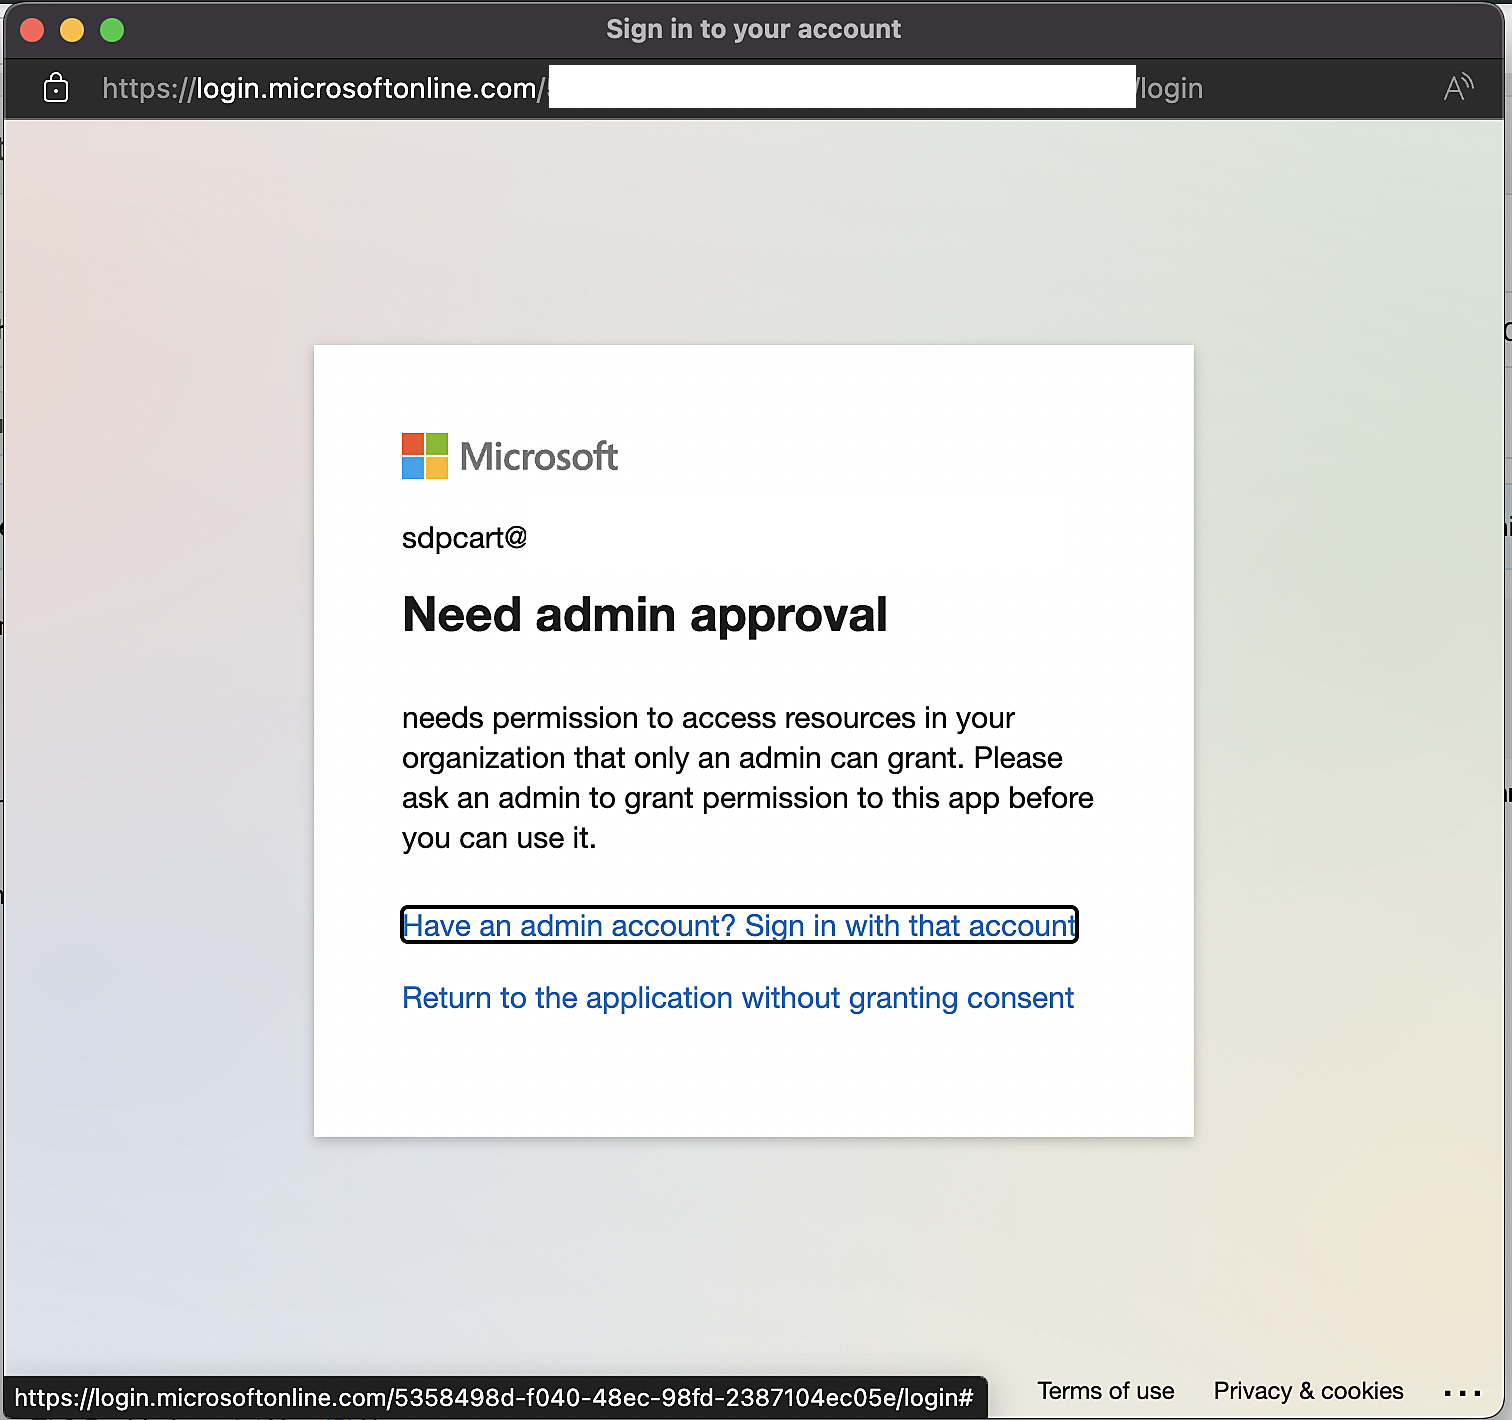
When the user enters the credentials of the mailbox in the OAuth dialog box, the "Need admin approval" message is shown.
Root cause:
The admin is authorized to grant consent to users to access the mailbox of the organization. Users do not have such permissions.
Resolution:
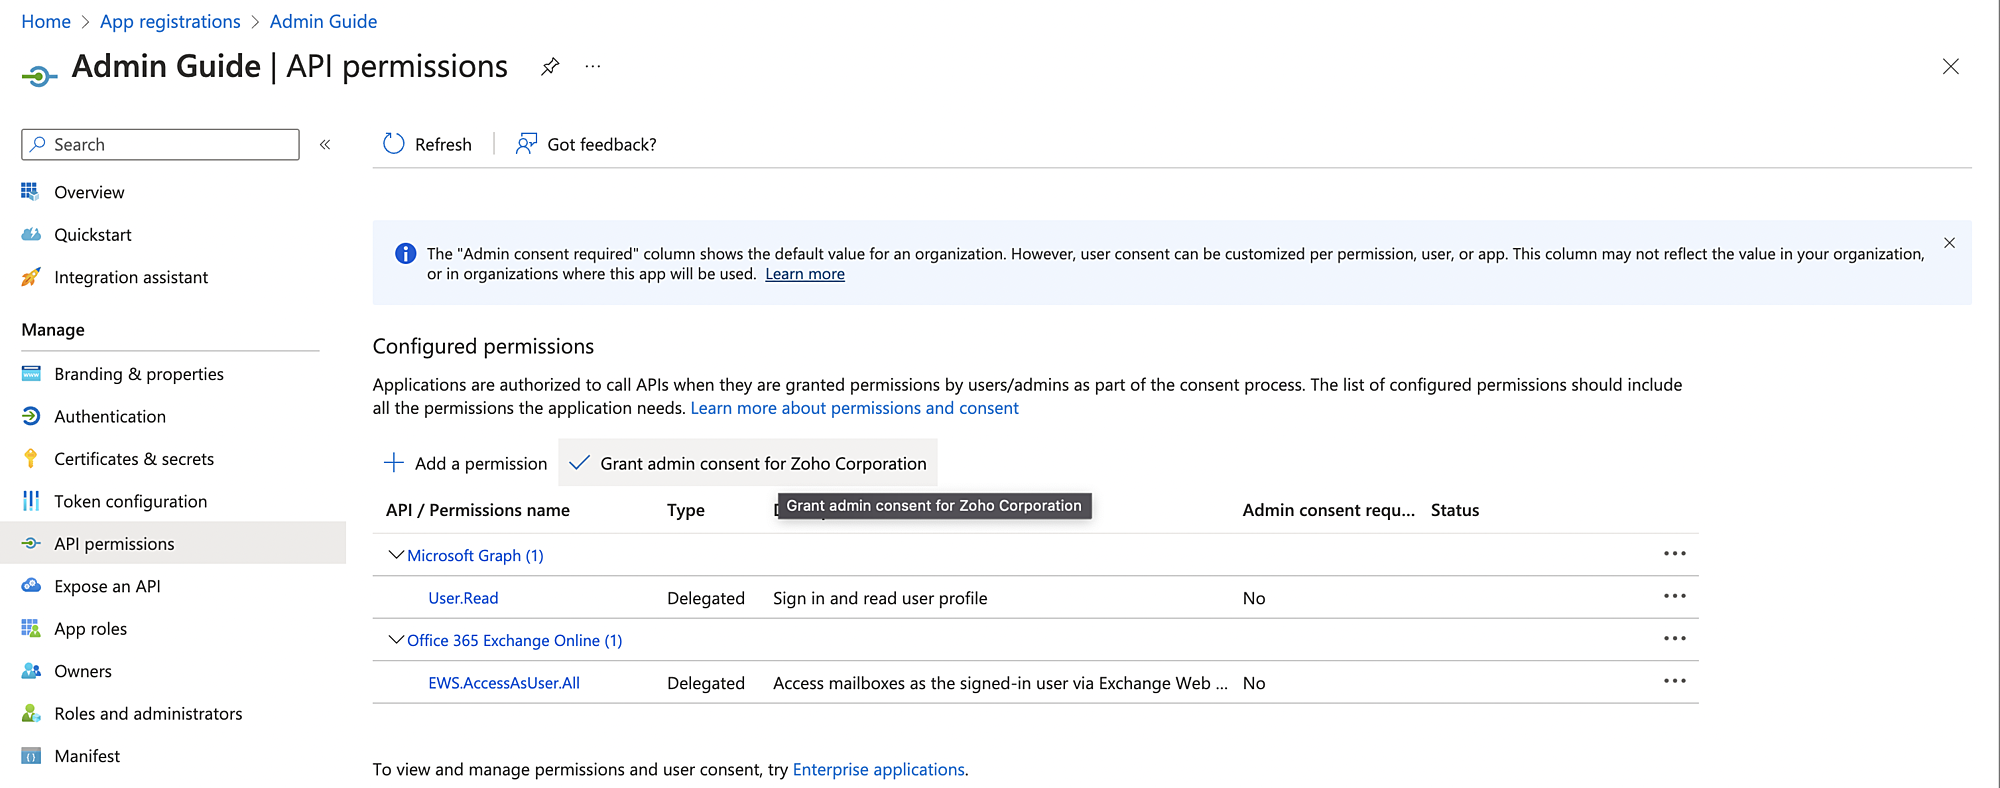
You can grant admin consent for all the permissions by going to Azure portal > App registrations > Application configured for SDP > API Permissions (left panel) and clicking on Grant admin consent.
The connection is timed out
Issue:
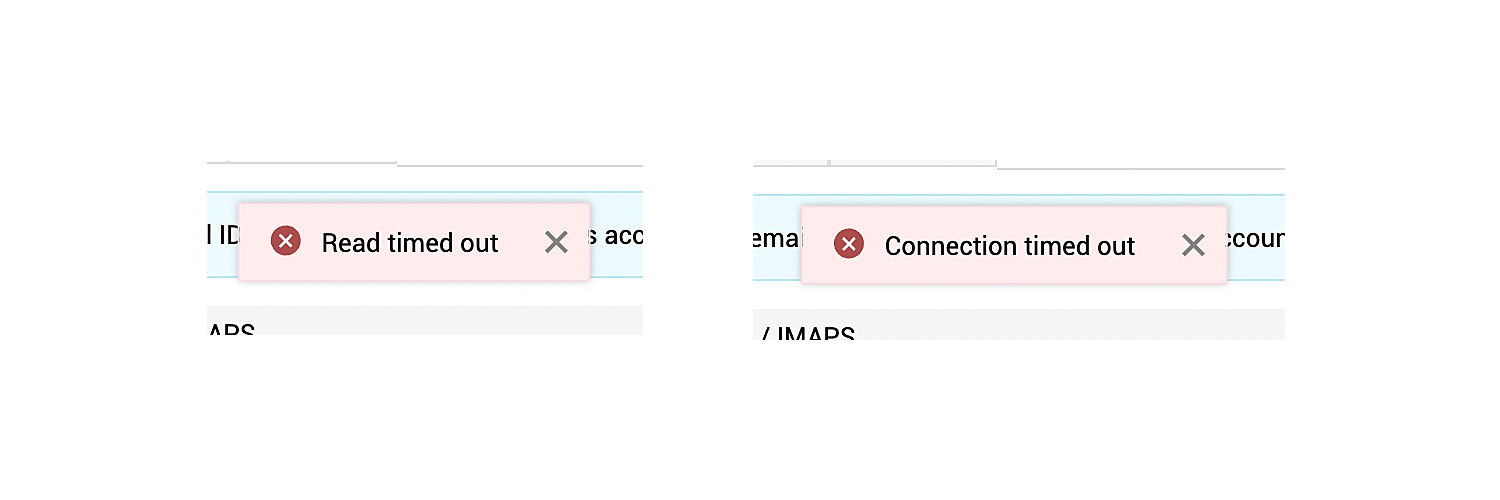
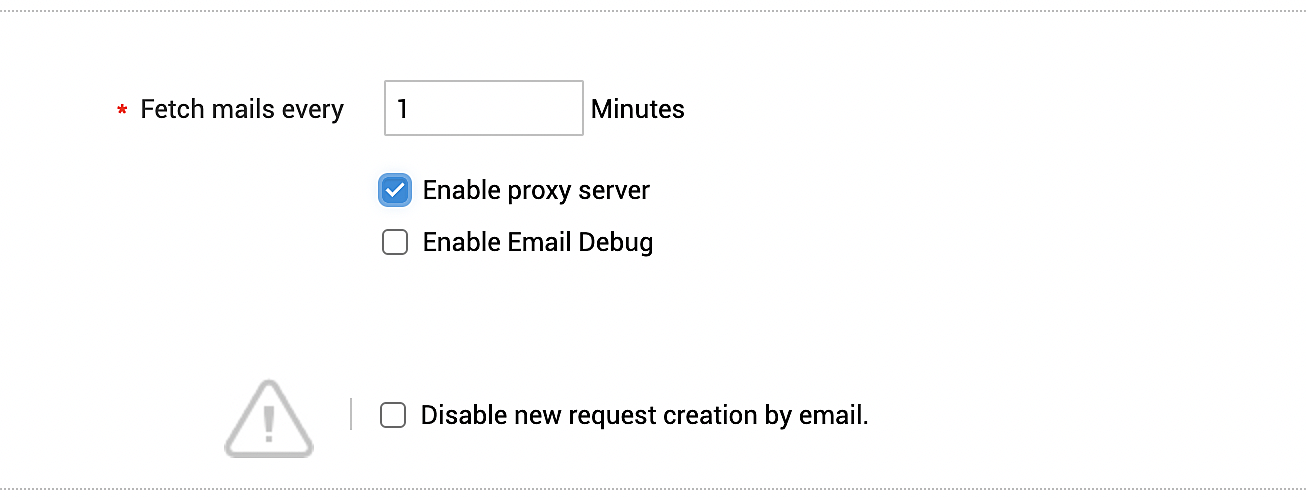
After the user enters the login credentials in the OAuth dialog box, the following messages are displayed.
Root cause:
The authorization URL would function using the proxy server settings that are available on your browser. But, the application refers to the token URL internally and hence, it would not work.
Resolution:
Learn to configure proxy server settings in the application here. After this, select Enable proxy server in the mail server settings and click on save,
The response from the Token URL is in HTML format
Issue:
When the user enters the credentials of the mailbox in the OAuth dialog box, the following error message is displayed.

Root cause:
An authorization code is obtained after the user enters the credentials. The application utilizes this code to generate tokens using the Token URL. If the Token URL is configured correctly, the tokens will be generated in JSON format. Otherwise, an error message is displayed as shown above.
Resolution:
Verify the configuration of the Token URL using the admin guide. If it remains unresolved, you can recreate the issue and contact the support team at support@servicedeskplus.com with the following details:
- The logs
- A screenshot of mail server settings showing the Token URL explicitly
- A screenshot of application endpoints in the Azure portal as shown in the Admin guide
Invalid client ID is displayed
Issue:
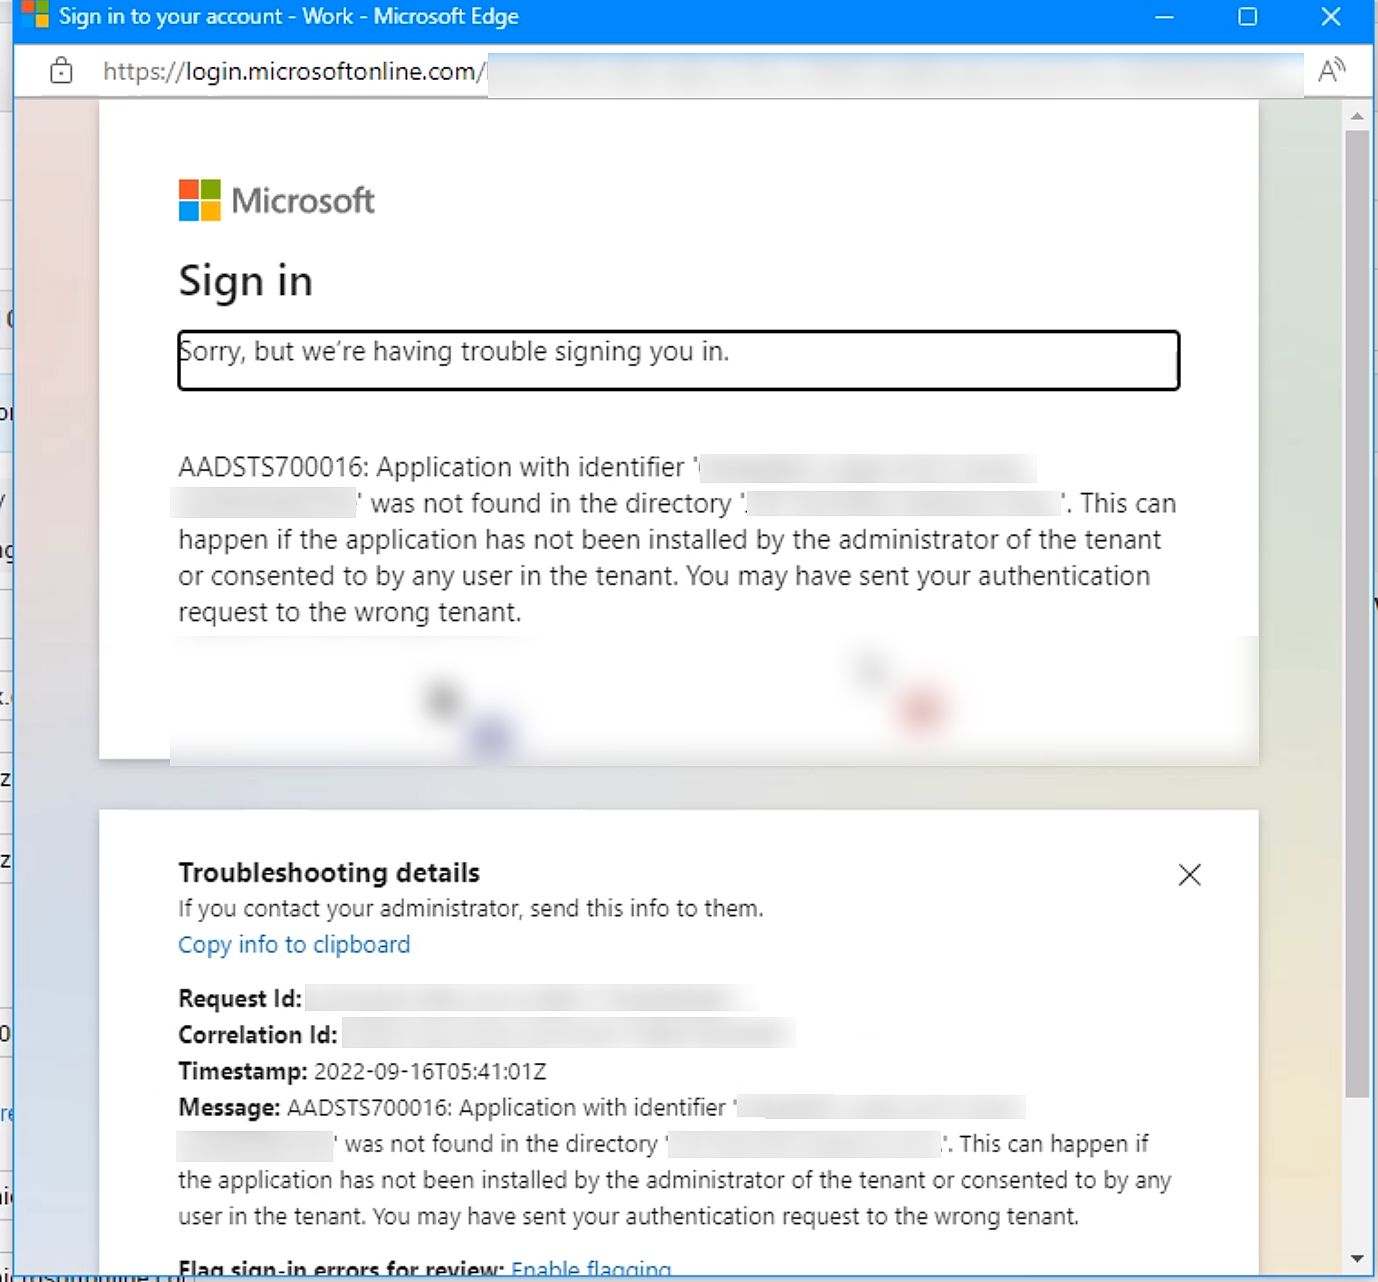
After the user enters the credentials of the mailbox in the OAuth dialog box, an invalid client ID is displayed on the screen as shown below.
Root cause:
The error code "AADSTS700016" indicates that the Application (client) ID for the mailbox's directory is incorrect.
Resolution:
Check the configuration of the client ID using the admin guide. If the problem continues, you can share the following details by reaching out to support@servicedeskplus.com.
- A screenshot of the error message in the OAuth dialog box
- A screenshot of mail server settings of ServiceDesk Plus showcasing the incoming/outgoing settings which cause the error
- A screenshot of the Overview tab of the corresponding application in Azure portal as shown in the Admin guide.
The URL configured for basic authentication is incorrect
Issue:
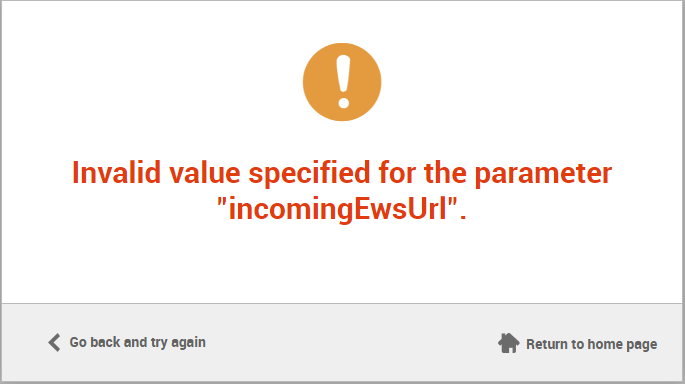
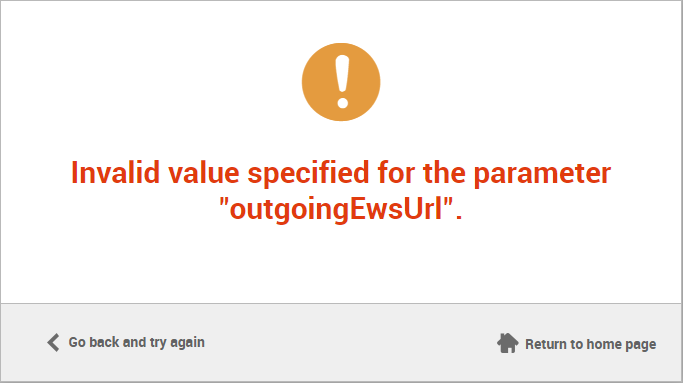
The URL configured in the incoming/outgoing settings for basic authentication is incorrect.
Root cause:
The EWS URL configured in the incoming/outgoing settings for basic authentication is incorrect.
Resolution:
- You can access New query report by navigating to Reports and execute a report using the query given below to obtain the helpdesk ID.
select * from helpdeskdetails
- Connect to application database by following the steps given here.
- After connecting, you can execute the query given below to remove the incorrect connect URL entry from the respective tables.
delete from incomingewsserver where authtypeid = 1 and helpdeskid = AAA;
delete from outgoingewsserver where authtypeid = 1 and helpdeskid = AAA;
Note: In the queries given above, replace AAA with the helpdesk ID obtained from the output of the first report.
- After executing these queries, please re-configure OAuth to resolve this issue.
The number of pending emails is incorrect
Issue:
The pending mail count exhibits a number higher than the actual number of mails in the helpdesk mailbox.
Root cause:
Despite saving the settings successfully on your normal browser window, the response is mapped with your Azure account that you have logged in on the same browser instead of the helpdesk mailbox account. Check the number of pending emails before the application starts to fetch them. Otherwise, the application would fetch mails from your mailbox instead.
Resolution:
Access ServiceDesk Plus in an incognito window, log in using the credentials and save the settings.
What should I do if I use only SAML-based login?
In this scenario, access ServiceDesk Plus in an incognito window, and login into the application using SAML. After this, open a new tab to access your mailbox using outlook.office365.com and log out from your account.
Following this, save the mail server settings in ServiceDesk Plus, and log in using the credentials of the helpdesk mailbox. It would map the response to the correct mailbox and display the right pending mail count.
Ensure the pending mail count is correct before starting the mail fetching process.
One of the mandatory values for the mail server details is set as NULL
Issue:
Error messages like "One of the mandatory values for the mail server details is set as NULL. Hence cannot add mail server details." or "One of the mandatory values for the mail server details is set as NULL. Hence the mail server details cannot be updated." are displayed while updating the configuration.

Root cause:
The error is caused by an application-level cache issue.
Resolution:
- Click on Enter Client Secret, enter a random value and save it.
- Close the pop-up window that is displayed without making any changes.
- Now, click on Enter Client Secret again, update the correct client secret value, and save the setting. Enter the helpdesk credentials in the pop-up window and log in.
