Rebranding PAM360
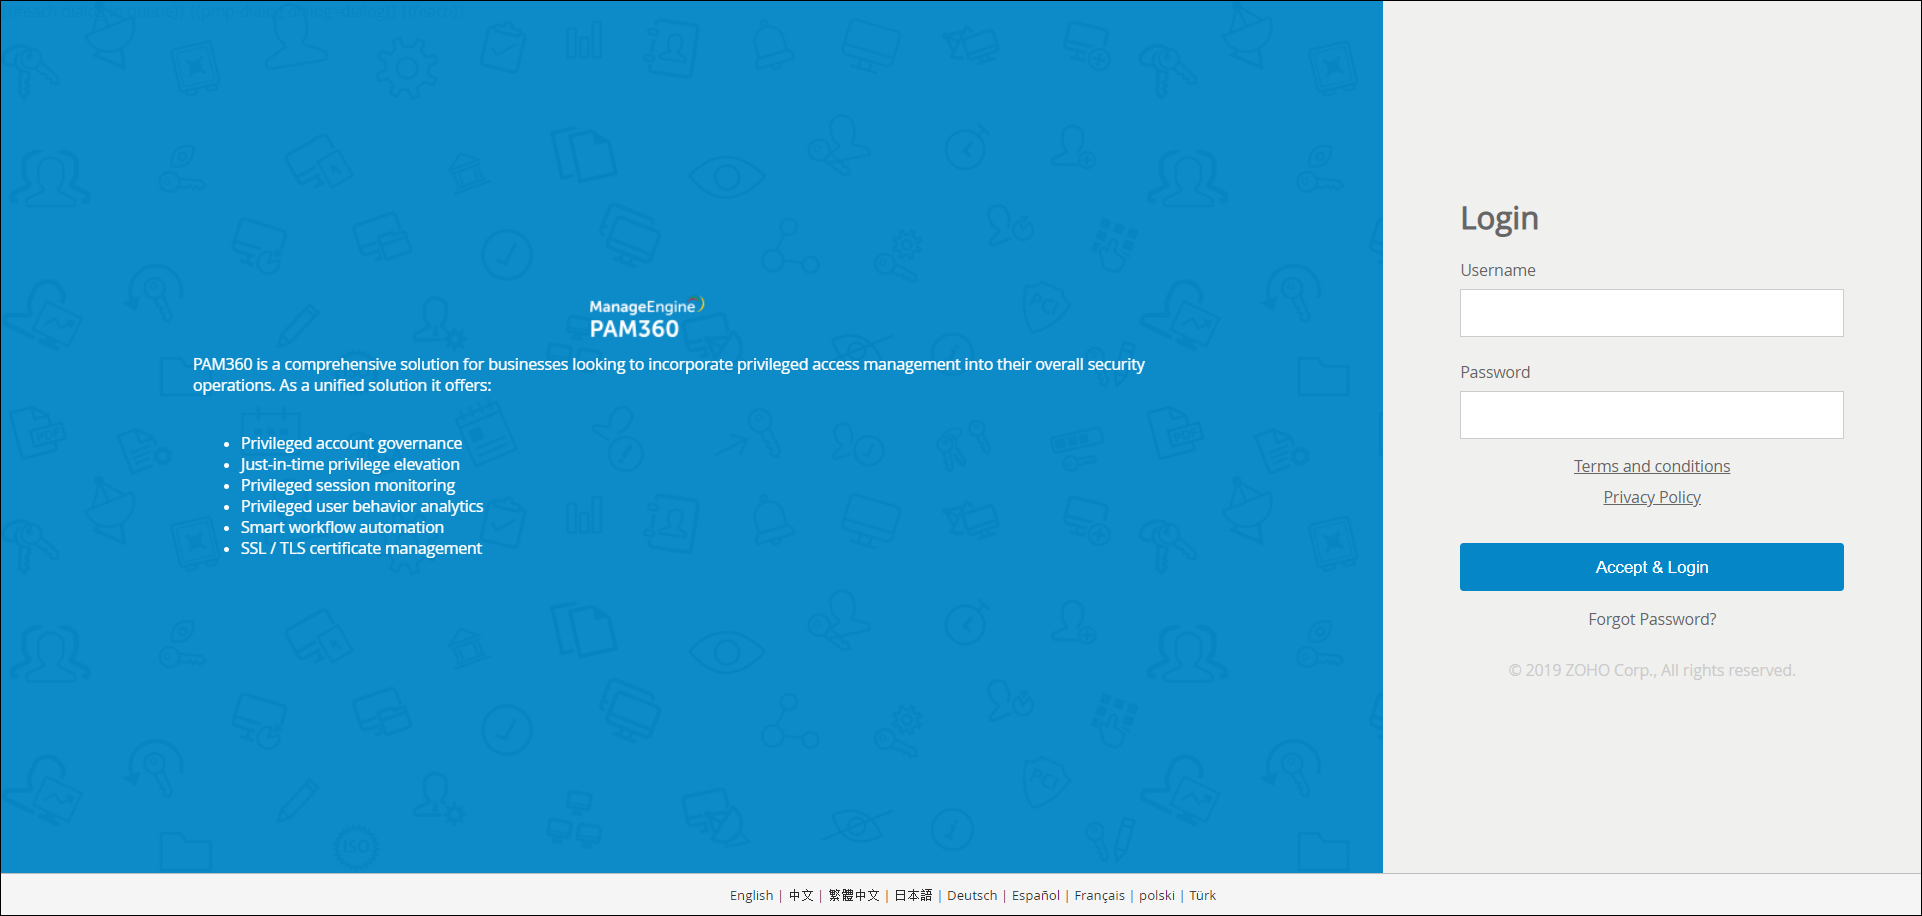
If you want to replace PAM360 logo appearing on the login screen and on the web interface with that of yours, you can do so from the web interface itself. It is preferable to have your logo of the size 210*50 pixels. PAM360 provides an option to add policies and/or conditions in its login page. If you want your users to accept the legal and/or privacy policies before logging into PAM360, you may configure and enable this option. At any point, this configuration can be disabled.
Steps Required
To customize PAM360,
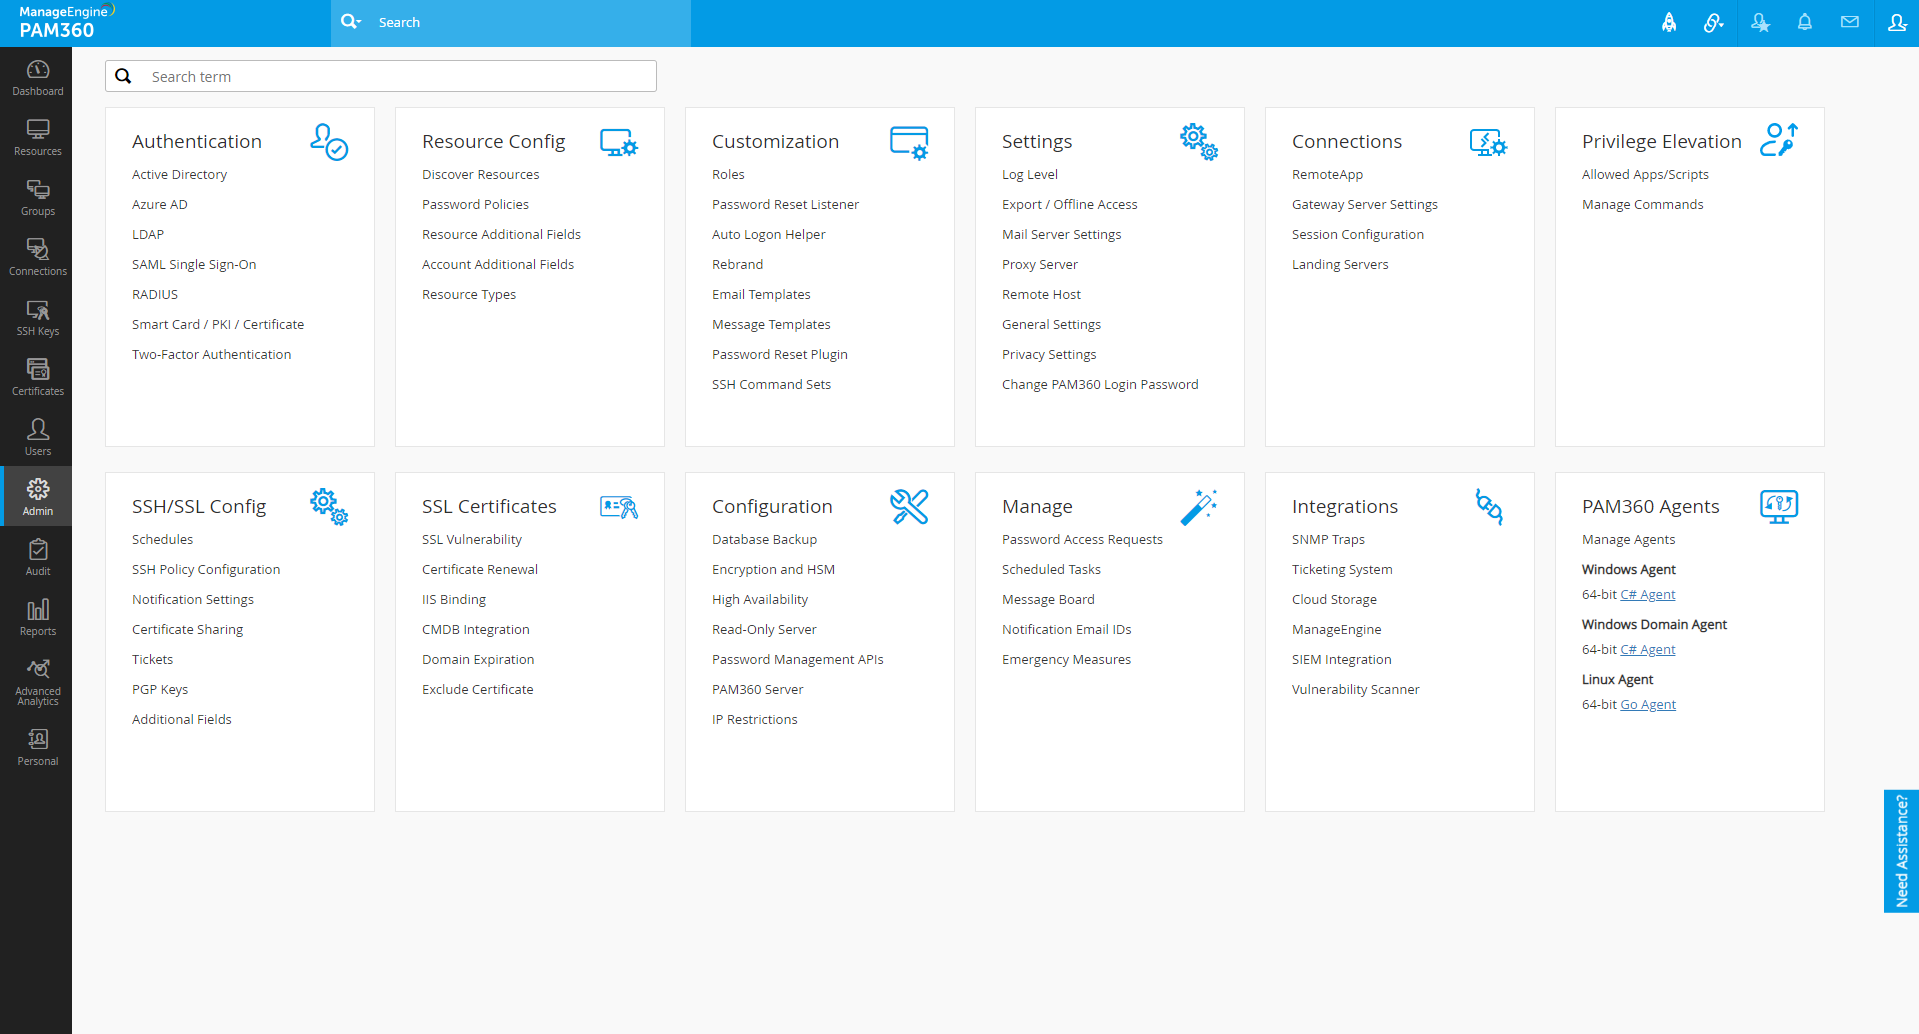
- Navigate to Admin >> Customization >> Rebrand.
-
A pop-up window appears with two possible customizations:
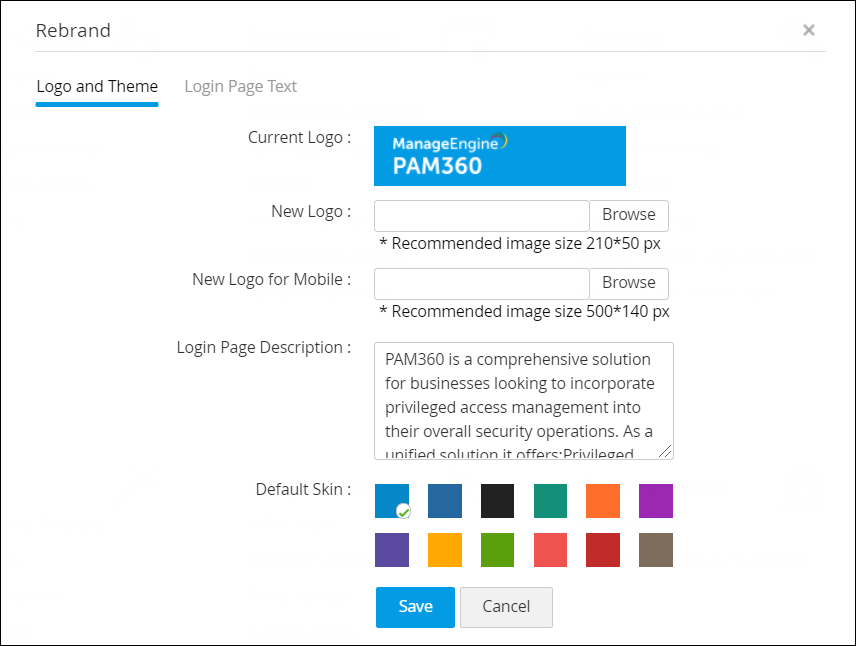
- Logo and Theme
- Click Browse from the New Logo field to choose a new logo. The recommended size is 210*50 px.
- You can also select a logo for mobile devices by selecting Browse from the New Logo for Mobile field. The recommended size is 500*10 px.
- Enter a new description that will be displayed in the login page through Login Page Description field.
- Pick a new skin color from the Default Skin tab.
- Click Save to apply the changes.
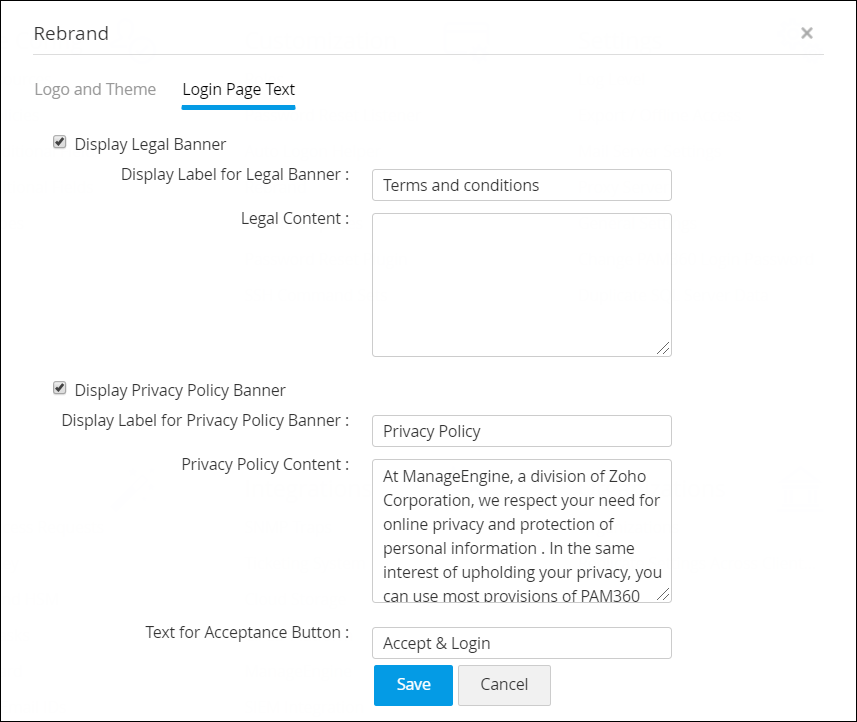
- Login Page Text
- Click Login Page Text to edit and display the legal and privacy policy banner.
- Select Display Legal Banner to edit and display the legal banner.
- Enter the label that you want to display for the content in the Display Label for Legal Banner field.
- Enter the detailed legal content to be displayed in the Legal Content field.
- Select Display Privacy Policy Banner to edit and display the privacy policy banner.
- Enter the label that you want to display for the content in the Display Label for Privacy Policy Banner field.
-
Enter the detailed privacy policy content to be displayed in the Privacy Policy Content field.
- Specify the label for the Text for Acceptance Button.
- Click Save to apply the changes.
Note: The legal and privacy policy banners will be shown in the login page only if their respective content fields are filled. If these fields are empty, the settings cannot be saved.