Previously, users could create reports with anyone of the following categories: Performance/Availability/Response Time and Packet Loss/ Inventory.
Now OpManager has advanced report creation capabilities and allows its users to create reports covering multiple categories. There will be as many columns as the number of monitoring parameters specified.
How to create New Advanced Report?
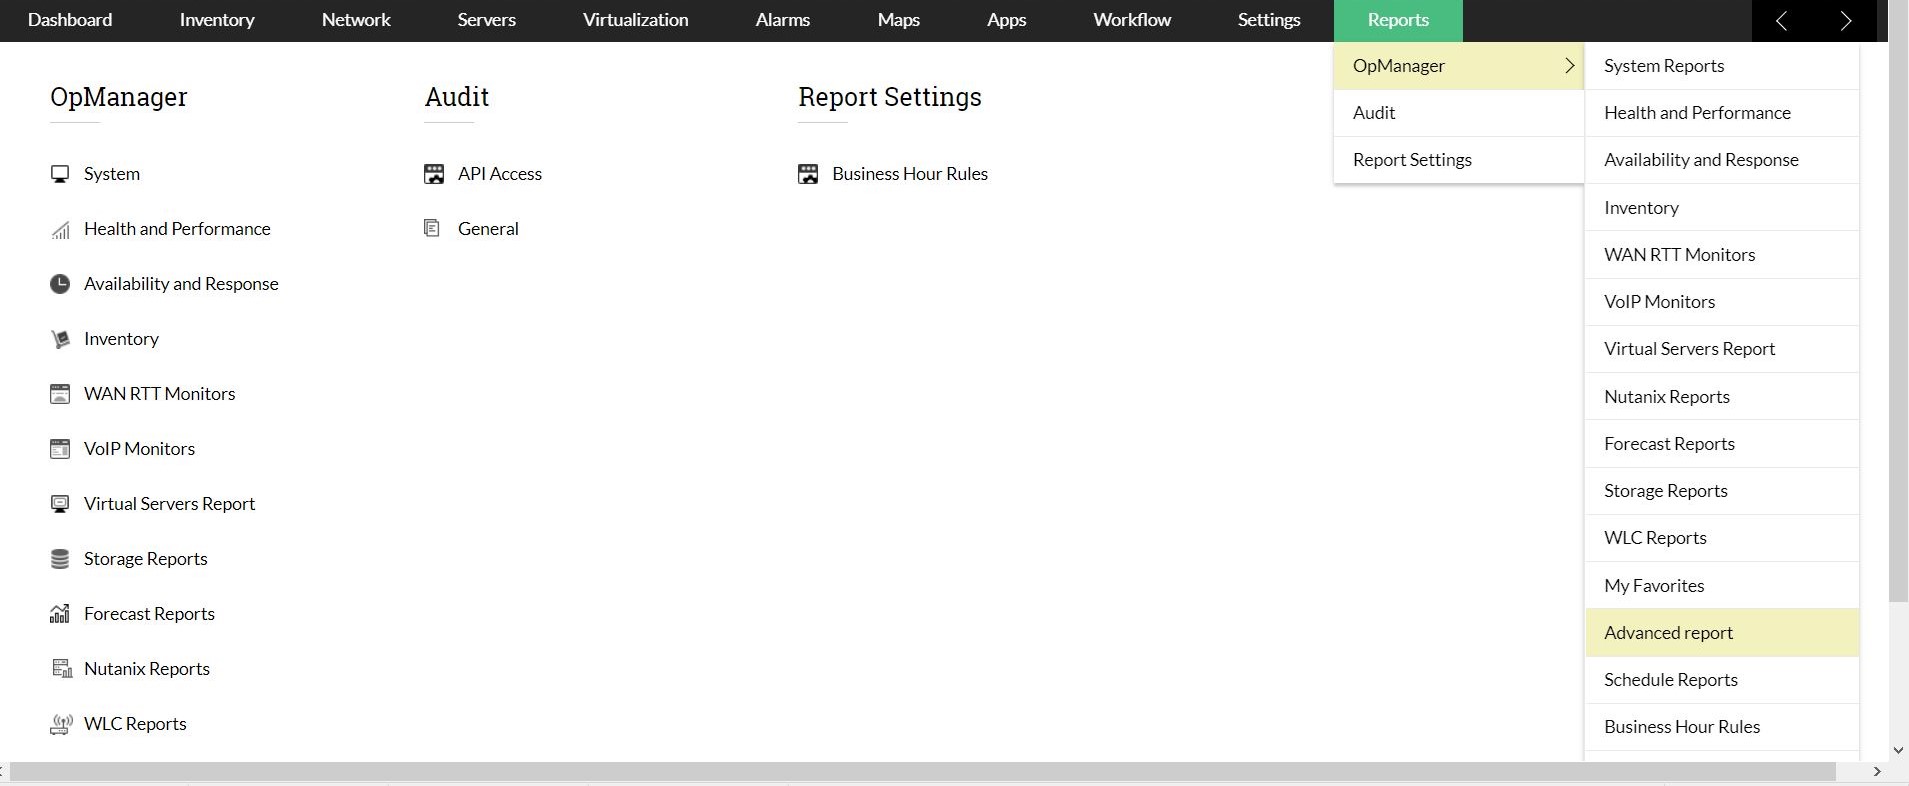
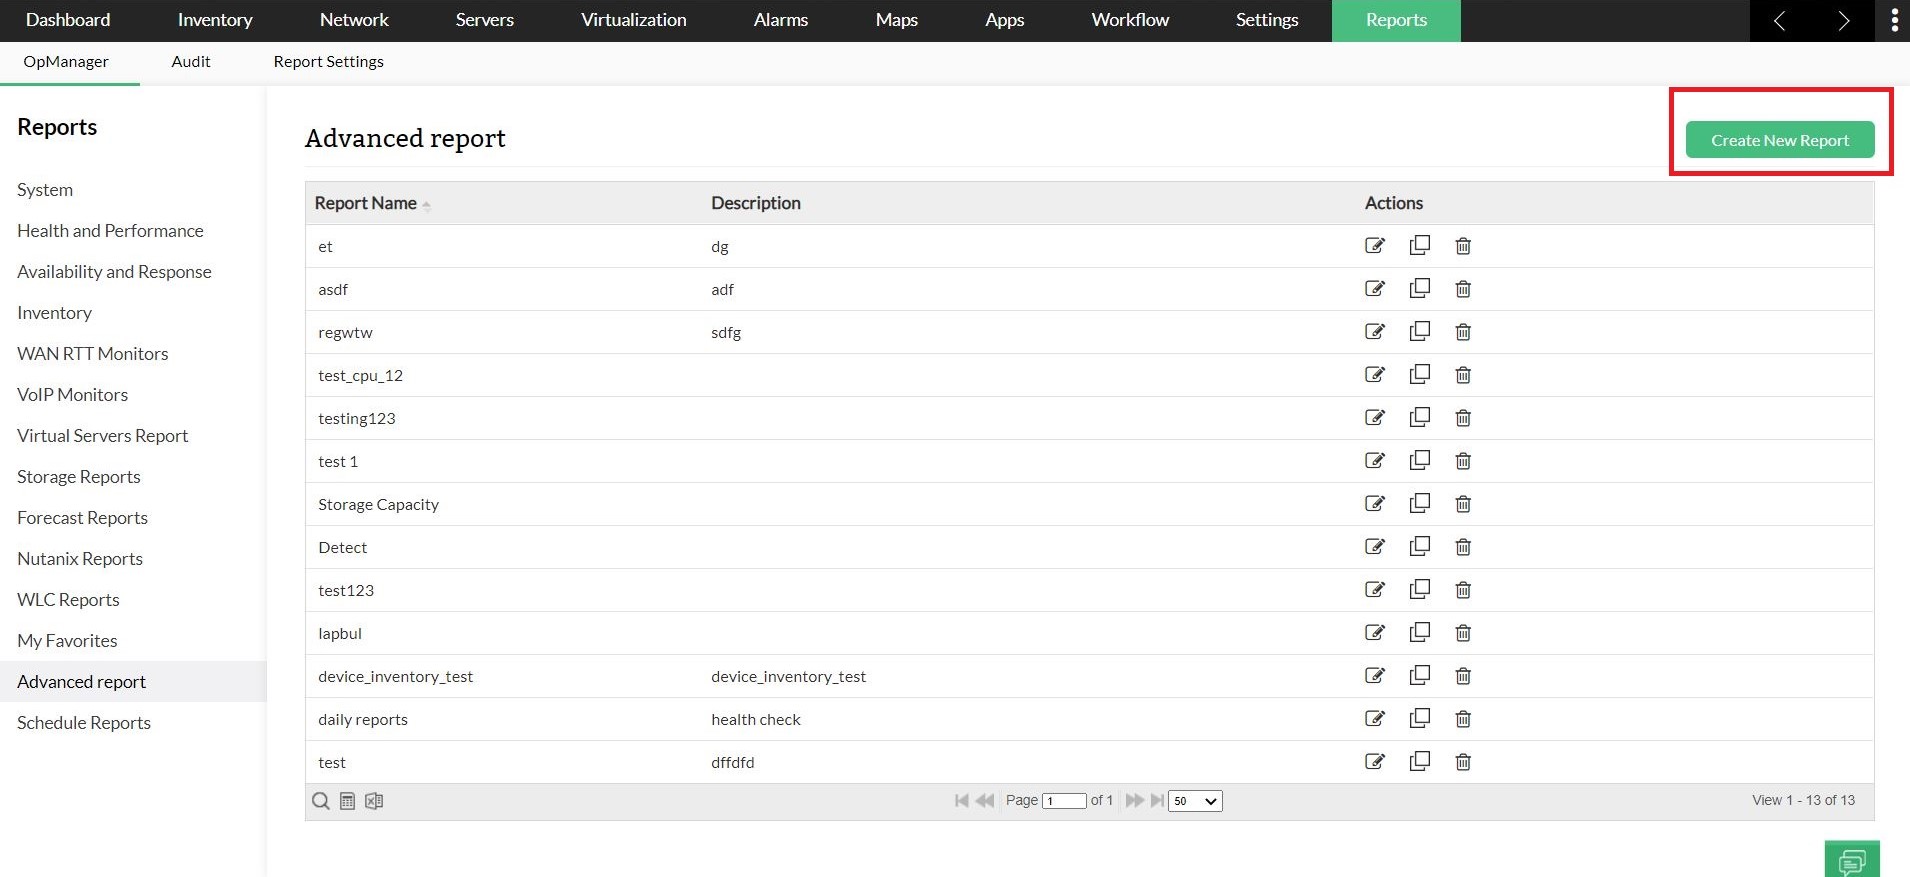
- Navigate to Reports OpManager --> Advanced report.
- Click on Create New Report button available on the top right corner. (This option to create a new report is provided on the top right corner of every default report.)
- Enter a suitable Name and Description for the report.
- Select a Module from the available list of modules - Devices, Interfaces, Service Monitors, URL Monitors, Alarms.
- Select your preferred parameter categories from the Available Column Groups. Within each parameter category, there are multiple properties. (Advanced reports give users the option to view inventory data and performance monitors in a single report.)
- Now select the properties in each chosen category from the Available Columns, and move them to the Selected Columns. (Users can view upto a maximum of 5 performance monitors in the report)
You can select a Perf Group to create a report with data related to the monitors that belong to that group
- Click on the Group by Columns button, if you want to sort the elements in the report. (For instance, if you choose to sort by Contact Name, the data will be displayed in alphabetical order of Contact Name.)

- Click on the Apply Criteria button and add the criteria to fetch a report based on that criteria. (Optional)

- If you happen to choose a performance monitor, a new tab - Filter by Period - appears. Specify the mandatory fields of filtering time period and the Business Hour of your organization. (The filtering period by default takes the value of 12 hours. But you can choose a different value from the dropdown list.)

- Click on Preview to view the report before being created. Click on Edit Report button to return to the previous page.

- Then click on Save.
- The report will be generated and stored and can be accessed in Reports --> OpManager --> Advanced report.
Useful features in advanced reports

- Export: The report can be exported and downloaded in PDF/Excel format. (Reports having upto 8 columns can be exported as PDF)
- Edit: Using the edit option users can add/remove or replace columns. It essentially gives the user a chance to re-design the report completely.
- Copy As: It enables the users to copy the report. Users can give a Name and Description for this copied report.
- Schedule this: This option enables users to send this report to a specified mail id at specific time intervals. Users can enter the Schedule Name, Mail id, Report Format, Schedule time - Daily, Weekly, Monthly and Mail Content.